A Python toolkit for cross-framework abstraction of quantum programs.


Project description


The qBraid-SDK is a Python toolkit for cross-framework abstraction, transpilation, and execution of quantum programs.

Features
- Unified quantum frontend interface. Transpile quantum circuits between supported packages. Leverage the capabilities of multiple frontends through simple, consistent protocols.
- Build once, target many. Create quantum programs using your preferred circuit-building package, and execute on any backend that interfaces with a supported frontend.
- Benchmark, compare, interpret results. Built-in compatible post-processing enables comparing results between runs and across backends.
Installation & Setup

For the best experience, install the qBraid-SDK environment on lab.qbraid.com. Login (or create an account) and follow the steps to install an environment.
Using the SDK on qBraid Lab means direct, pre-configured access to all Amazon Braket supported devices with no additional access keys or API tokens required. See qBraid Quantum Jobs for more.
Local install
The qBraid-SDK, and all of its dependencies, can also be installed using pip:
pip install qbraid
You can also install from source by cloning this repository and running a pip install command in the root directory of the repository:
git clone https://github.com/qBraid/qBraid.git
cd qBraid
pip install -e '.[all]'
Note: The qBraid-SDK requires Python 3.10 or greater.
If using locally, follow linked instructions to configure your qBraid, AWS, and IBMQ credentials.
Check version
You can view the version of the qBraid-SDK you have installed within Python using the following:
In [1]: import qbraid

In [2]: qbraid.__version__
Documentation & Tutorials
qBraid documentation is available at docs.qbraid.com.
See also:
Quickstart
Transpiler
Construct a quantum program of any supported program type,
>>> from qbraid import QPROGRAM_LIBS
>>> QPROGRAM_LIBS
['braket', 'cirq', 'qiskit', 'pyquil', 'pytket', 'qasm2', 'qasm3']
and use the circuit_wrapper() to convert to any other supported program type:
>>> from qbraid import circuit_wrapper
>>> from qbraid.programs import random_circuit
>>> qiskit_circuit = random_circuit("qiskit")
>>> cirq_circuit = circuit_wrapper(qiskit_circuit).transpile("cirq")
>>> print(qiskit_circuit)
          ┌────────────┐
q_0: ──■──┤ Rx(3.0353) ├
     ┌─┴─┐└───┬────┬───┘
q_1: ┤ H ├────┤ √X ├────
     └───┘    └────┘
>>> print(cirq_circuit)
0: ───@───Rx(0.966π)───
      │
1: ───H───X^0.5────────
Devices & Jobs
Search for quantum backend(s) on which to execute your program.
>>> from qbraid import get_devices
>>> get_devices()
Device status updated 0 minutes ago

Device ID                           Status
---------                           ------
aws_oqc_lucy                        ONLINE
aws_ionq_aria2                      OFFLINE
aws_rigetti_aspen_m3                ONLINE
ibm_q_brisbane                      ONLINE
...
Apply the device_wrapper(), and send quantum jobs to any supported backend,
from any supported program type:
>>> from qbraid import device_wrapper, get_jobs
>>> aws_device = device_wrapper("aws_oqc_lucy")
>>> ibm_device = device_wrapper("ibm_q_brisbane")
>>> aws_job = aws_device.run(qiskit_circuit, shots=1000)
>>> ibm_job = ibm_device.run(cirq_circuit, shots=1000)
>>> get_jobs()
Displaying 2 most recent jobs:

Job ID                                              Submitted                  Status
------                                              ---------                  ------
aws_oqc_lucy-exampleuser-qjob-zzzzzzz...            2023-05-21T21:13:47.220Z   QUEUED
ibm_q_brisbane-exampleuser-qjob-xxxxxxx...          2023-05-21T21:13:48.220Z   RUNNING
...
Compare results in a consistent, unified format:
>>> aws_result = aws_job.result()
>>> ibm_result = ibm_job.result()
>>> aws_result.measurement_counts()
{'00': 483, '01': 14, '10': 486, '11': 17}
>>> ibm_result.measurement_counts()
{'00': 496, '01': 12, '10': 479, '11': 13}
Local account setup
To use the qBraid-SDK locally (outside of qBraid Lab), you must add your account credentials:
-
Create a qBraid account or log in to your existing account by visiting account.qbraid.com
-
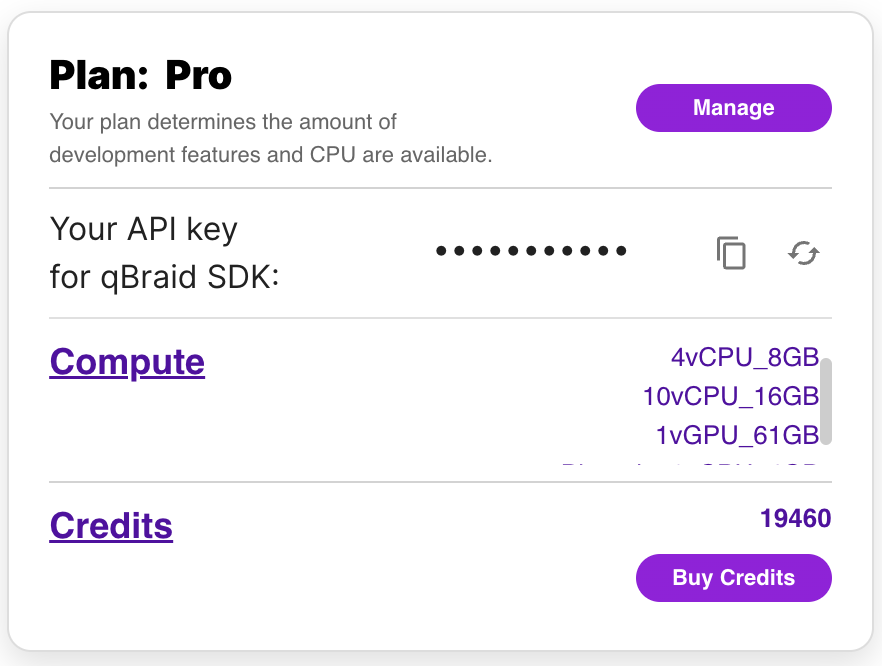
Copy your API Key token from the left side of your account page:
-
Save your API key from step 2 by calling
QbraidSession.save_config():
from qbraid.api import QbraidSession

session = QbraidSession(api_key='API_KEY')
session.save_config()
The command above stores your credentials locally in a configuration file ~/.qbraid/qbraidrc,
where ~ corresponds to your home ($HOME) directory. Once saved, you can then connect to the
qBraid API and leverage functions such as get_devices() and get_jobs().
Load Account from Environment Variables
Alternatively, the qBraid-SDK can discover credentials from environment variables:
export JUPYTERHUB_USER='USER_EMAIL'
export QBRAID_API_KEY='QBRAID_API_KEY'
Then instantiate the session without any arguments
from qbraid.api import QbraidSession

session = QbraidSession()
Launch on qBraid
The "Launch on qBraid" button (below) can be added to any public GitHub
repository. Clicking on it automaically opens qBraid Lab, and performs a
git clone of the project repo into your account's home directory. Copy the
code below, and replace YOUR-USERNAME and YOUR-REPOSITORY with your GitHub
info.
Use the badge in your project's README.md:
[<img src="https://qbraid-static.s3.amazonaws.com/logos/Launch_on_qBraid_white.png" width="150">](https://account.qbraid.com?gitHubUrl=https://github.com/YOUR-USERNAME/YOUR-REPOSITORY.git)
Use the badge in your project's README.rst:
.. image:: https://qbraid-static.s3.amazonaws.com/logos/Launch_on_qBraid_white.png
    :target: https://account.qbraid.com?gitHubUrl=https://github.com/YOUR-USERNAME/YOUR-REPOSITORY.git
    :width: 150px
Contributing
-
Interested in contributing code, or making a PR? See CONTRIBUTING.md
-
For feature requests and bug reports: Submit an issue
-
For discussions, and specific questions about the qBraid SDK, qBraid Lab, or other topics, join our discord community
-
For questions that are more suited for a forum, post to Quantum Computing Stack Exchange with the
qbraidtag. -
Want your open-source project featured as its own runtime environment on qBraid Lab? Fill out our New Environment Request Form
License
Release history Release notifications | RSS feed


Download files
Download the file for your platform. If you're not sure which to choose, learn more about installing packages.
Source Distribution
Built Distribution
Filter files by name, interpreter, ABI, and platform.
If you're not sure about the file name format, learn more about wheel file names.
Copy a direct link to the current filters
File details
Details for the file qbraid-0.5.0.dev20231213012035.tar.gz.
File metadata
- Download URL: qbraid-0.5.0.dev20231213012035.tar.gz
- Upload date:
- Size: 1.6 MB
- Tags: Source
- Uploaded using Trusted Publishing? No
- Uploaded via: twine/4.0.2 CPython/3.11.7
File hashes
| Algorithm | Hash digest | |
|---|---|---|
| SHA256 |
cb8d3b9d1f11a1a1a9cd4b295f062e9b94504e1a1fd8328edef9f1d869c0c9b0
|
|
| MD5 |
494424f7342e48d140a5855de771e815
|
|
| BLAKE2b-256 |
61b2b44d007c590136037ff4fc241da3264c89126c7b66283f3787f8e7431dd7
|
File details
Details for the file qbraid-0.5.0.dev20231213012035-py3-none-any.whl.
File metadata
- Download URL: qbraid-0.5.0.dev20231213012035-py3-none-any.whl
- Upload date:
- Size: 199.6 kB
- Tags: Python 3
- Uploaded using Trusted Publishing? No
- Uploaded via: twine/4.0.2 CPython/3.11.7
File hashes
| Algorithm | Hash digest | |
|---|---|---|
| SHA256 |
f3cfdd4e483780ae8225f9a6f6410810a1b446104a2beecfea5f2ee1696753d4
|
|
| MD5 |
3a887edcadc90f846b597115ab0e0a38
|
|
| BLAKE2b-256 |
1670d09dcc0b2570a3d29c9645e30a77cfdb26efdbd9c73fc85b81a180d1688e
|


